

A drum set is no ordinary piece of musical equipment. They consist of many components, each of which can be quite expensive in their own right. An entire kit can be quite a valuable instrument, and it’s important that it is taken care of over the years to make sure it will perform at a top level for years to come. As drummers we obsess about things such as cymbal and drum placement, tuning of the drum heads, and the thump of the kick drum. Did you ever stop to think of how important it is that you keep this beautiful set of components clean and shining? Not only will it make them last longer, but they’ll look more beautiful on stage and they’ll help your drums retain their value should you ever try and sell them. Here are some things to keep in mind when you are cleaning your drum set.
The Stands
The stands are usually made of nickel-plated metal and as such they can take a lot of abuse. From being thrown around in the back of a gig rig, to dropped in the dirt during transport by the road team, they really can see it all. At least once a year, it is recommended to give the stands a good and thorough clean. When the weather is right, take them outside and give them a good hose-down. If you have a pressure washer, this is a perfect place to use it. Even a smaller electric pressure washer has plenty of strength to get the grit out, and if you don’t already have one you can learn more about them here.
Once you’ve thoroughly cleaned the stands its important to get them very dry to prevent oxidation and corrosion. It’s a good idea to oil the moving parts (clamps, joints, etc.). A lithium based grease can be a great product to use for this purpose. To really make them shine, finish the process off with a nice metal polish such as Mother’s Mag. This will put a nice finish on the stands.
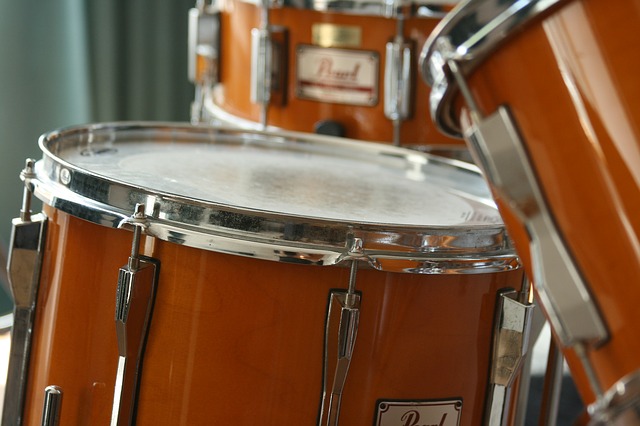
The Drum Barrels
You’ll want to take your drum kit apart and clean the drum barrels a bit more frequently, perhaps on a quarterly basis. This is one of the most beautiful parts of the drums, often patterned with intricate woodwork or similar patterns.
You’ll want to make sure to get rid of all of the dust. A basic wipe down will get most of it, but unfortunately the devil’s in the details here. You’ll also want to make sure you get all of those hard to reach places like around the screws and mount holes, near the drum head, etc. Q-tips can be your best friend for this exercise.
Once you’ve removed all the dust once again it can be a good idea to apply polish. Make sure to find something that is compatible with the material your drums are made of. A nice wood polish can go well with wood drums, but composite might call for something different. Check with the manufacturer to see what they recommend for your particular drums.
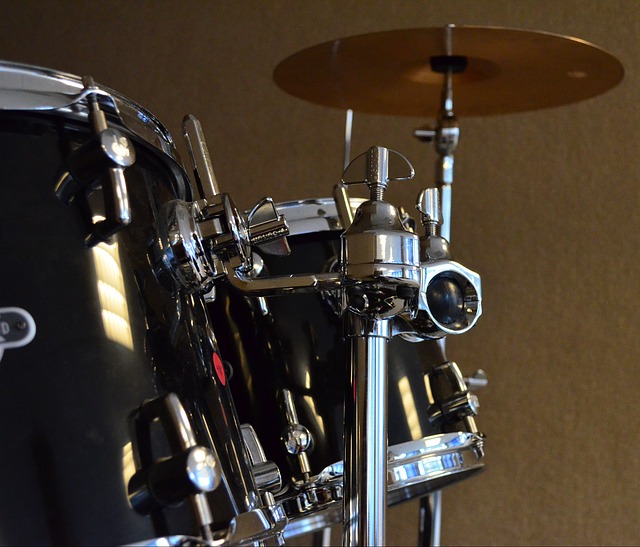
The Cymbals
The cymbals are not only the shiniest part of the drum kit, but they’re also the closest to your audience and they are placed the highest up in the kit. This means they are quite prominent and are sure to capture attention – that is, unless they’re DULL AF.

To keep your cymbals shining for days to come, a light scrub with soap and water will be sure to do the trick. You don’t want to scrub too hard because you can remove protective coatings and open up the metal to further corrosion. It is important however to get the dirt and grime out of the pits. As with the stands, make sure to dry them down thoroughly once you are finished, and apply a compatible oil to protect the cymbals and keep them vibrant for the days to come.
Drum kits are incredibly technical instruments, but they’re also works of art. Make sure they don’t fall into a state of neglect. If you keep on top of these three tasks, you’ll be sure to have beautiful drums that will last a lifetime.